


Table of contents
Django REST framework is a powerful and flexible toolkit for building Web APIs. It is a powerful library that sits on top of existing Django projects to add robust web APIs. If you have an existing Django project with only models and a database--no views, urls, or templates required--you can quickly transform it into a RESTful API with a minimal amount of code. In this tutorial, we'll create a basic Django To Do app web API using serializers, viewsets, and routers.
Prerequisites
You should have a basic understanding of how Django works and a local development configuration with Python 3.
Initial Setup
Let's start by creating a directory for our code, installing Django, and creating a new project. Execute the following on the command line.
$ cd ~/Destkop
$ mkdir todo && cd todo
$ pipenv install django~=3.1.0
$ pipenv shell
(todo) $ django-admin startproject config .
(todo) $ python manage.py startapp todo
We're placing the code on the Desktop but it can live anywhere you choose on your computer. We've used Pipenv to install Django and then enter a dedicated virtual environment. And finally created a new Django project called config which has a todo app.
Since we have a new app, we need to update our INSTALLED_APPS setting. Open config/settings.py with your text editor and add todo at the bottom of the list.
# config/settings.py
INSTALLED_APPS = [
  ...
  'todo', # new
]
Perform our first migration to set up the initial database at this point.
(todo) $ python manage.py migrate
Next, we can create a basic model for our Todo app which will just have a title, description, and add a __str__ method.
# todo/models.py
from django.db import models


class Todo(models.Model):
    title = models.CharField(max_length=200)
    description = models.TextField()

    def __str__(self):
        return self.title
Then create a migration file and migrate our change to the project database.
(todo) $ python manage.py makemigrations todo
(todo) $ python manage.py migrate
The final step is to update the admin.py file so the todo app is visible when we log into the admin.
# todo/admin.py
from django.contrib import admin

from .models import Todo

admin.site.register(Todo)
In a normal Django app at this point, we would need to add URLs, views, and templates to display our content. But since our end goal is an API that will transmit the data over the internet, we don't actually need anything beyond our models.py file!
Let's create a superuser account so we can log into the admin and add some data to our model. Follow the prompts to add a name, email, and password. If you're curious, I've used user, user@email.com, and 1234567890 since this example is for learning purposes. Obviously use a name and password that are more secure on a real site!
(todo) $ python manage.py createsuperuser
(todo) $ python manage.py runserver
Navigate to http://127.0.0.1:8000/admin on your browser and log in with your new superuser account.
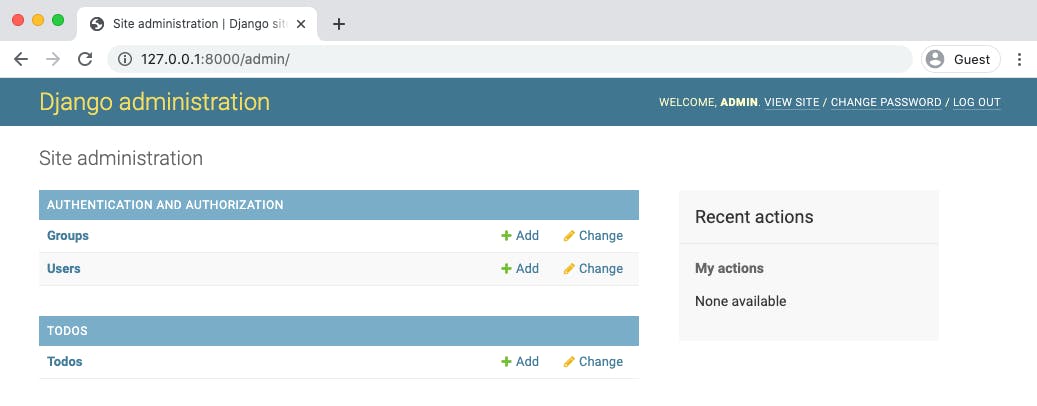
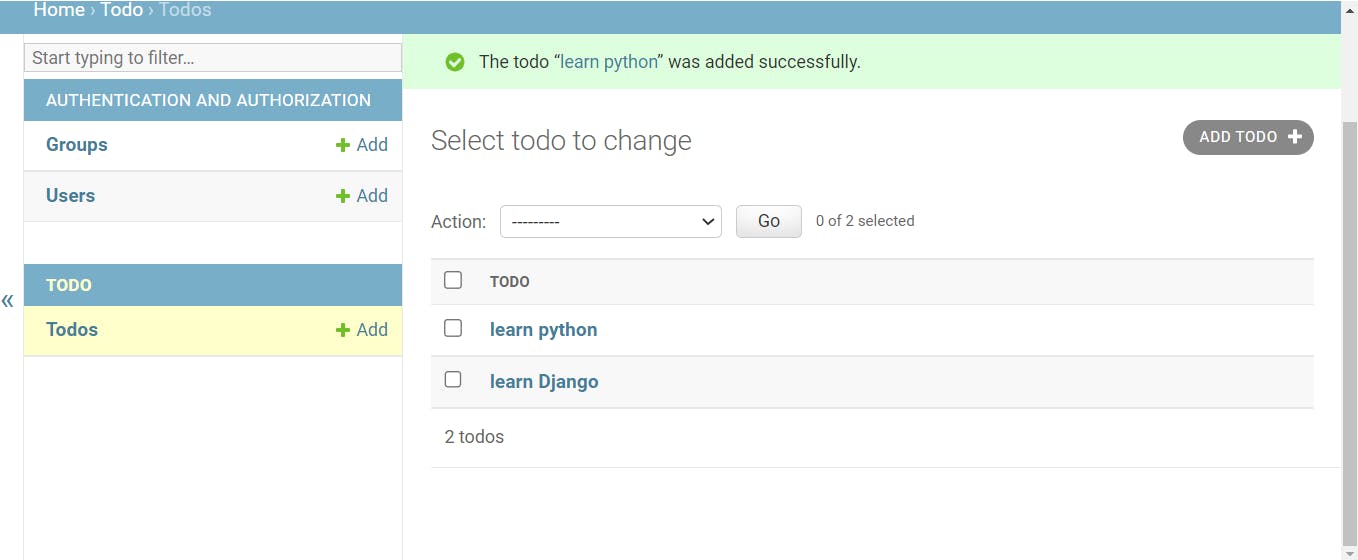
On the Admin homepage you should see the todo app. Click on the "+ Add" button for Todow and add two new entries we can use. I've called mine the following:
title: learn Django; description: learn Django
title: learn python; description: learn python
Now it's time for Django Rest Framework.
Django Rest Framework
The first step is to install Django Rest Framework.
On the command line stop the server with Control+c and then enter the following.
(todo) $ pipenv install djangorestframework
Next, add rest_framework app to our INSTALLED_APPS setting
# config/settings.py
INSTALLED_APPS = [
    ...
    'rest_framework', # new
    'todo',
]
The next step is to Configure the URL for our API endpoints in config/urls.py.
# config/urls.py
from django.contrib import admin
from django.urls import path, include

urlpatterns = [
    path('admin/', admin.site.urls),
    path('api/', include('todo.urls'))
]
we added todo.urls but we haven't created it, so let's create a file inside the todo directory and name it urls.py and add these lines:
# todo/urls.py

from django.urls import path
from .views import ListTodo, DetailTodo, CreateTodo


urlpatterns = [
    path('<int:pk>/', DetailTodo.as_view()),
    path('', ListTodo.as_view()),
    path('create', CreateTodo.as_view())
]
we imported the ListTodo, DetailTodo and CreateTodo which we yet have to create these classes. and urlspatterns is where we create our routes. <int:pk> is passing the Primary key as a URL query.
Serializer (JSON)
we need a serializer file to transpile the python queryset to JSON in order to send it over HTTP request. let's go ahead and create a file todo/serializer.py
from rest_framework import serializers
from .models import Todo


class TodoSerializer(serializers.ModelSerializer):
    class Meta:
        model = Todo
        fields = ('id', 'title', ' description')
Importing the Todo Model and exposing the id, title, and description field as JSON in the Meta class. model variable is which model we need to transpile and fields are which fields we need to expose. the id field is created automatically when adding a new object
View
open the todo/views.py file and the logic
from rest_framework import generics
from .serializers import TodoSerializer
from .models import Todo


# Showing the List
class ListTodo(generics.ListAPIView):
    queryset = Todo.objects.all()
    serializer_class = TodoSerializer

# fetching single todo
class DetailTodo(generics.RetrieveAPIView):
    queryset = Todo.objects.all()
    serializer_class = TodoSerializer

# creating one
class CreateTodo(generics.CreateAPIView):
    queryset = Todo.objects.all()
    serializer_class = TodoSerializer
now run the server and head over to 'http://127.0.0.1:8000/api/create`
$(todo) $ python manage.py runserver

it will let you create a new todo, and play around with it.